Wellcome uses cookies.
Read our policy
Close cookie notification
Skip to main content
Wellcome Collection homepage
Visit us
What’s on
Stories
Collections
Get involved
About us
Sign in to your library account
Search our stories, images, catalogue and events
Library account
Search our stories, images, catalogue and events
Search
Images search
Search for images
Search
All
Stories
Images
Catalogue
Events
Colours
Licences
Public Domain Mark (158)
Creative Commons CC-BY-NC (2)
Dates
From
to
Types/Techniques
Prints (113)
Photomechanical prints (111)
Periodical illustrations (84)
Paintings (16)
Watercolors (12)
Drawings (9)
Ephemera (9)
Ink drawings (9)
Photographs (7)
Radiographs (7)
Gouaches (6)
Broadsides (5)
Wood engravings (4)
Leaflets (2)
Postcards (2)
Wash drawings (2)
Caricatures (1)
Clippings (1)
Engravings (1)
Halftone photomechanical prints (1)
Subjects
Drug Industry (3,979)
Pharmaceutical Preparations (3,933)
London (England) (3,851)
AIDS (Disease) (3,026)
Condoms (2,840)
Acquired Immunodeficiency Syndrome (2,555)
HIV Seropositivity (2,511)
Safe Sex (2,214)
Human anatomy (1,860)
HIV Infections - prevention & control (1,754)
Acquired Immunodeficiency Syndrome - prevention & control (1,703)
AIDS (Disease) - Prevention (1,556)
Great Britain (1,554)
Hospitals (1,350)
Safe sex in AIDS prevention (1,349)
HIV Seropositivity - transmission (1,275)
Death (1,273)
Paris (France) (1,136)
ROYAL VETERINARY COLLEGE (1,107)
Charities (1,056)
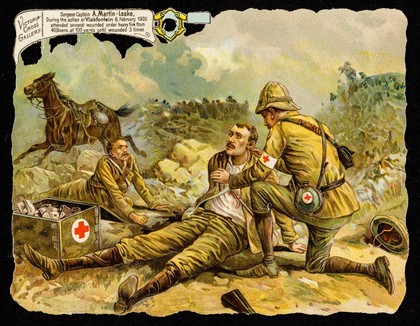
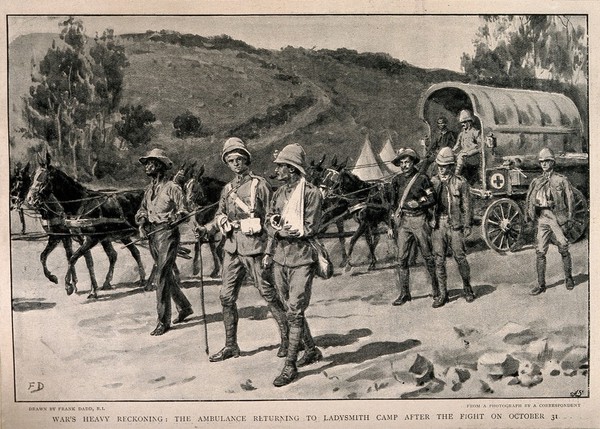
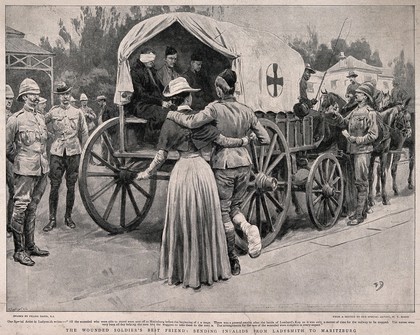
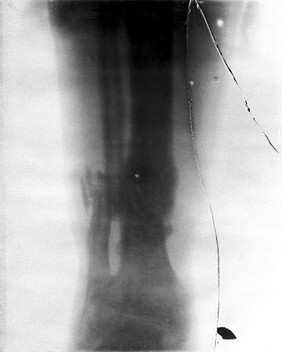
South African War, 1899-1902 (162)
Contributors
Paget, H. M. (Henry Marriott), 1857-1936 (8)
Thiele, Reinhold (8)
Dadd, Frank, 1851-1929 (7)
Haenen, F. de (Frédéric de), 1853-1928 (7)
Bruton, J. E., active 1900 (4)
Dickinson, F. C (4)
Fisher, A. Hugh, 1867-1945 (4)
Soper, George, 1870-1942 (4)
Begg, Samuel, active 1886-1900 (3)
Bennett, active 1899 (3)
Craig, Frank, 1874-1918 (3)
Egersdorfer, H., active 1900 (3)
Hall-Edwards, J., active 1900 (3)
Hatherell, William (3)
Spence, Percy F. S. (Percy Frederick Seaton), 1868-1933 (3)
Swain (3)
Waugh, J. J (3)
Johnstone, Agnes M., active 1900 (2)
Small, William, 1843-1929 (2)
Waugh, Frederick Judd, 1861-1940 (2)
Submit
Active filters:
remove
South African War, 1899-1902
remove
Reset filters
162 results
filtered with: South African War, 1899-1902
Search result sorting
Sort by:
Relevance
Production dates
Sort order:
Ascending
Descending
Submit
Previous (page 1)
Page
2
of 6
Next (page 3)
Close modal window
Previous (page 1)
Page
2
of 6
Next (page 3)